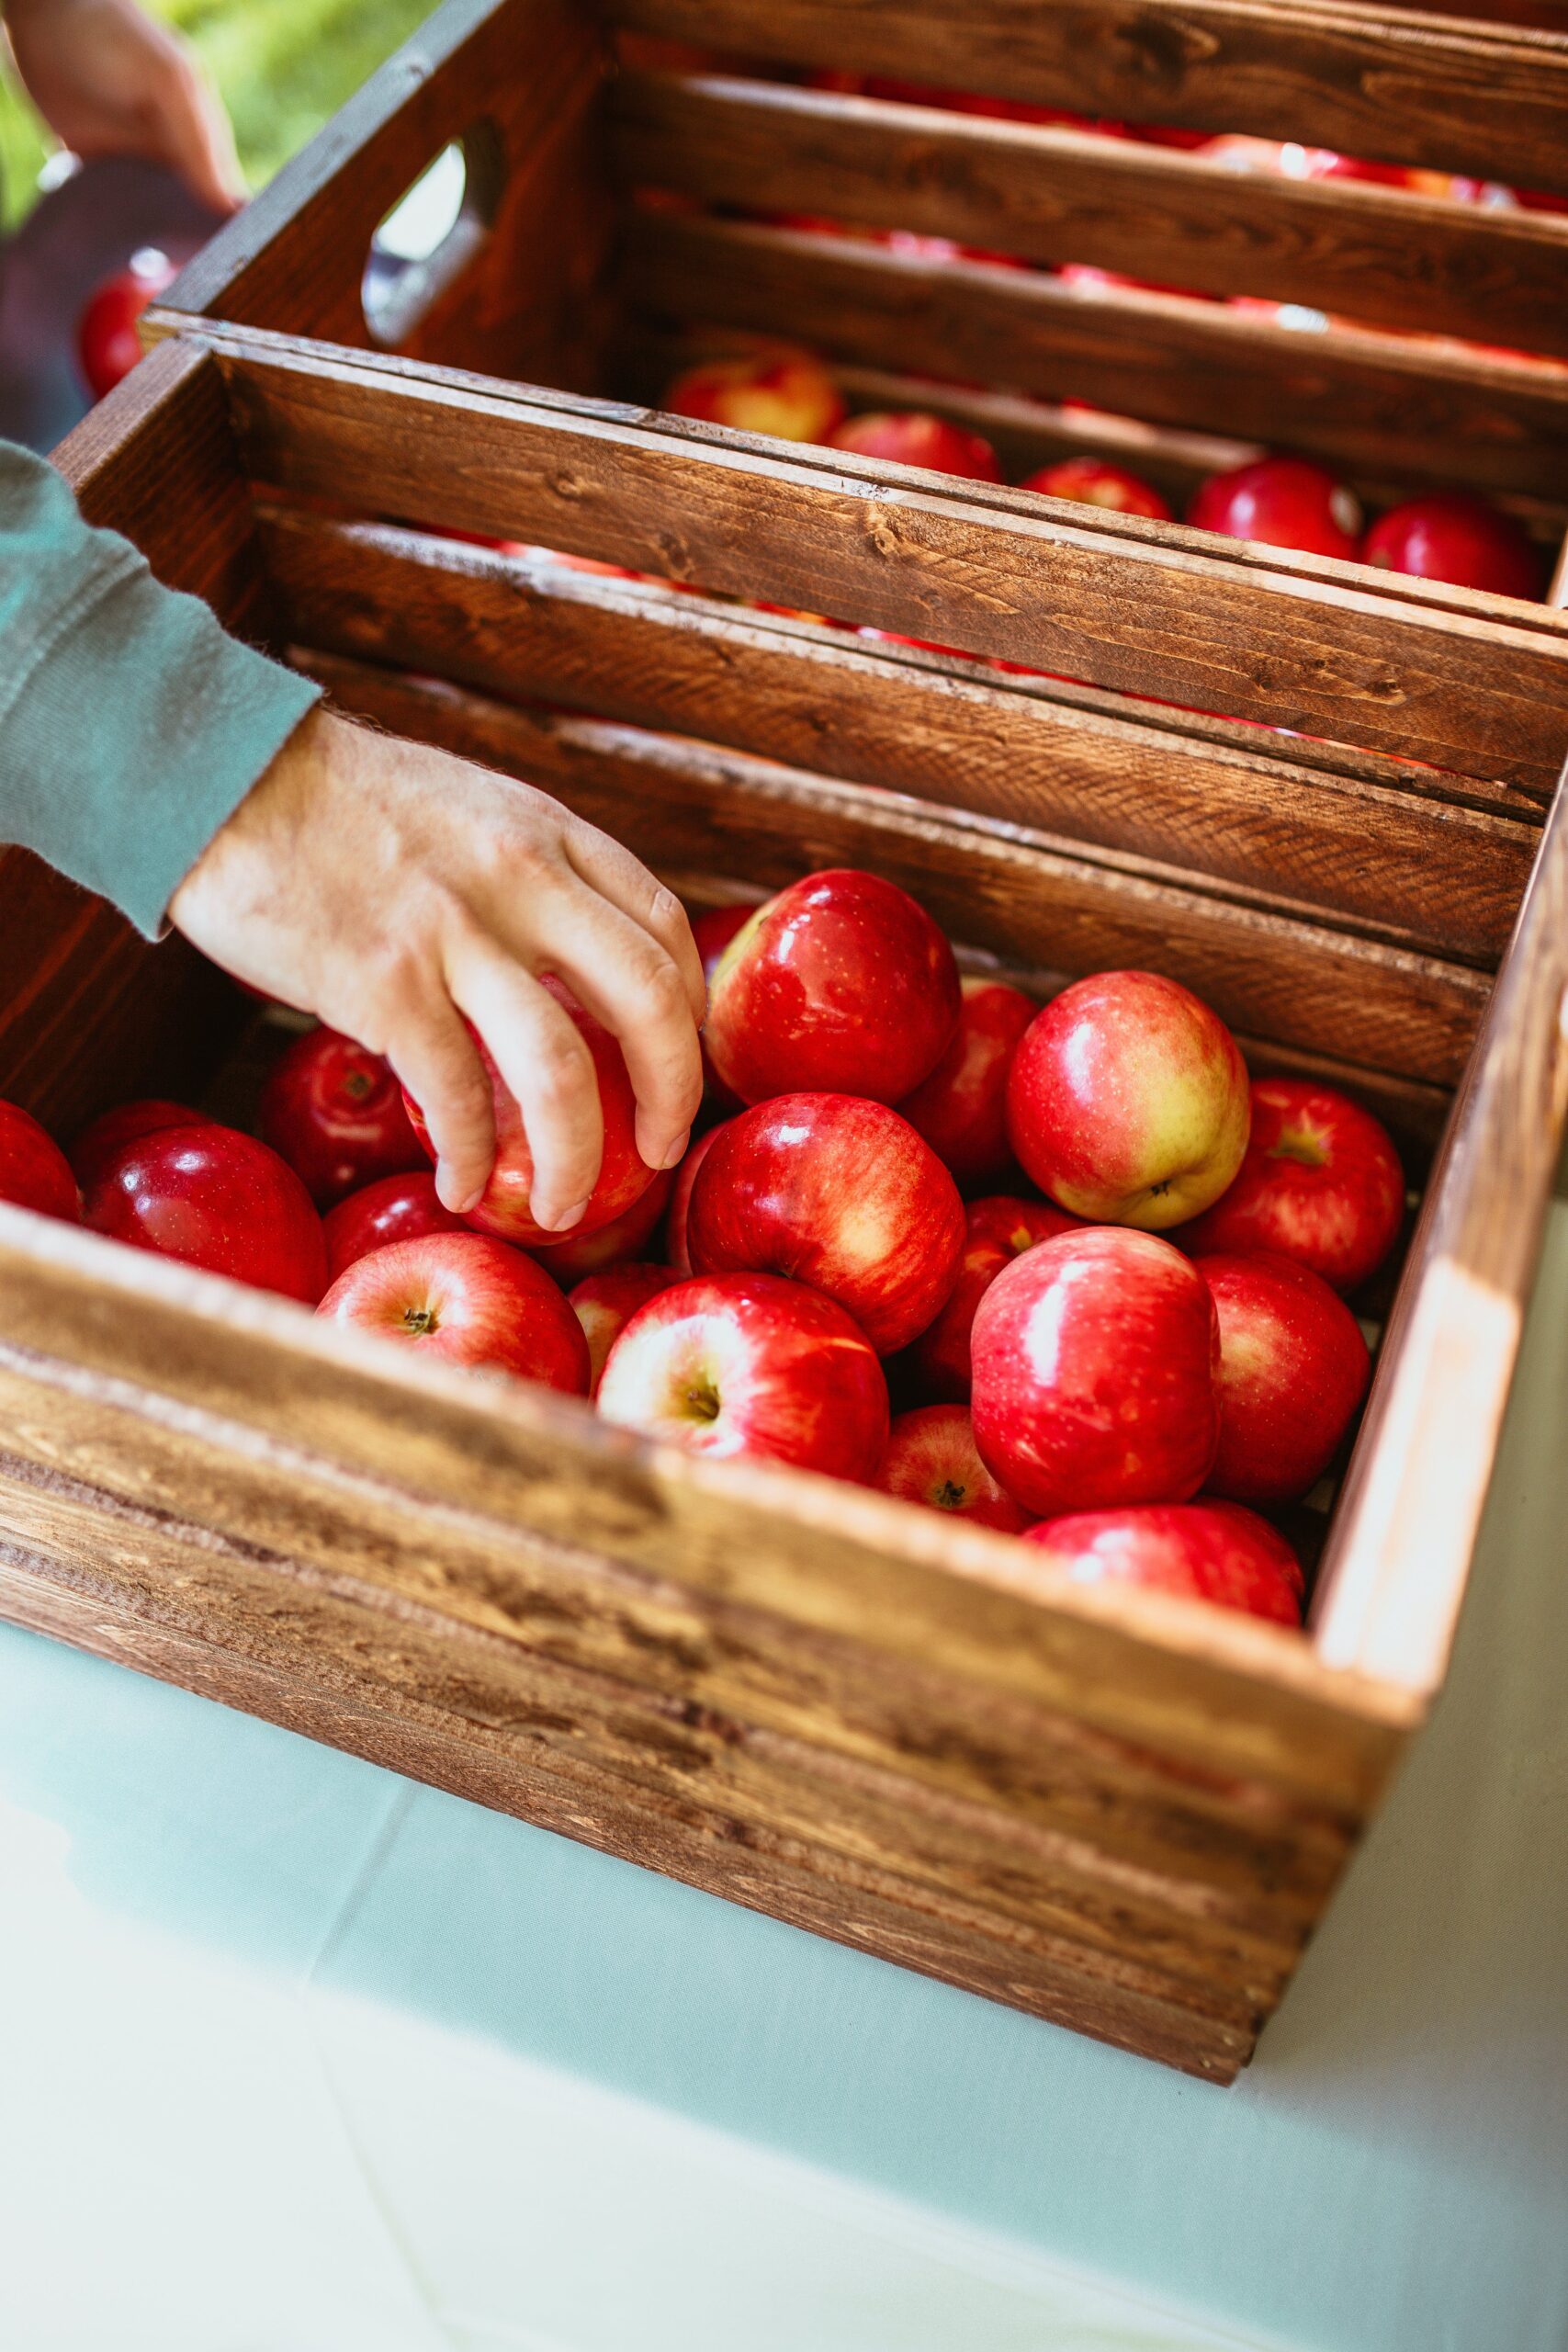
Apples are a versatile and beloved fruit, enjoyed in various dishes from classic apple pie to innovative recipes for the air fryer. But what if you have an abundance of fresh apples? Can you freeze apples to extend their shelf life? Absolutely! Freezing apples is a fantastic way to preserve their freshness and flavor for later use. Here’s your comprehensive guide on how to freeze apples effectively.
Why Freeze Apples?
Freezing apples is a practical way to preserve their freshness and extend their shelf life, especially when you have an abundance or want to take advantage of seasonal availability. It allows you to enjoy apples year-round in various recipes like pies, smoothies, and baked goods without compromising much on their taste and texture.
Freezing also helps in reducing food waste and can be a convenient option for meal planning and quick snacks.
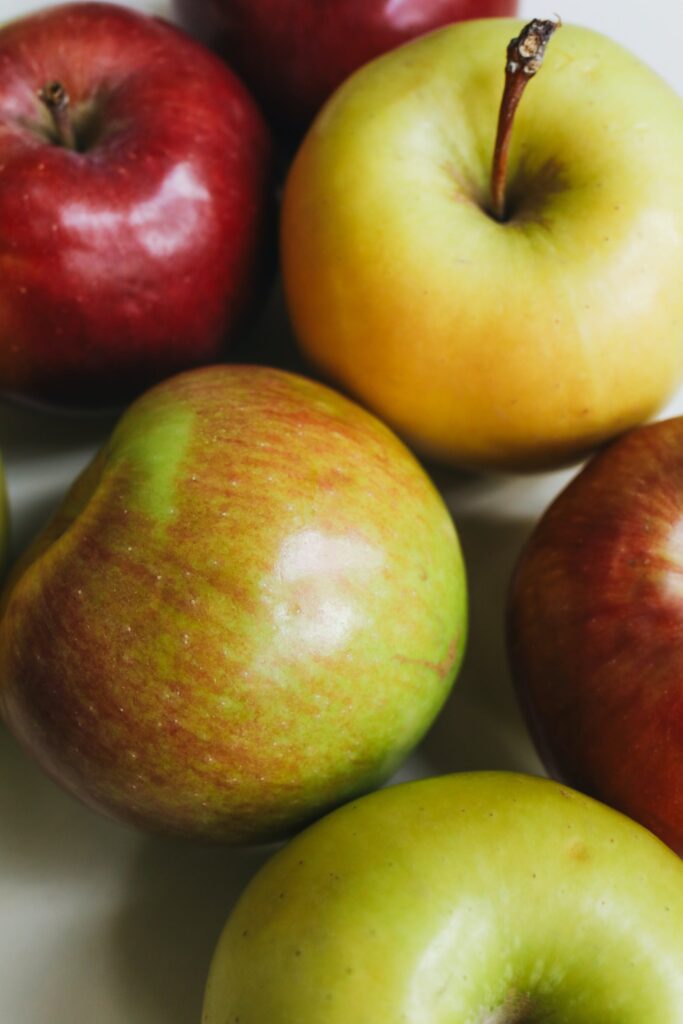
Does Freezing Apples Ruin Them
Freezing apples does not ruin them, but it can change their texture, making them softer upon thawing.
They are still excellent for cooking and baking purposes, such as in pies, sauces, or smoothies. However, frozen-thawed apples may not be ideal for fresh eating due to the texture change. Proper preparation before freezing can help preserve their quality.
Equipment Used for Freezing Apples
When freezing apples, you’ll need the following equipment:
- Knife and Cutting Board: For peeling, coring, and slicing the apples.
- Peeler or Corer: To easily remove the skin and cores.
- Lemon Juice: To prevent browning. Mix with water for a soak.
- Large Bowl: For soaking apple slices in the lemon juice solution.
- Baking Sheet: Lined with parchment paper, used for flash freezing the slices.
- Freezer Bags or Airtight Containers: To store the apples in the freezer. Ensure they’re labeled and dated.
- Strainer or Colander: To drain the apples after soaking in lemon juice.
- Paper Towels: To pat the apple slices dry before freezing.
This basic equipment helps in effectively preparing and storing apples for freezing, maintaining their quality and flavor.
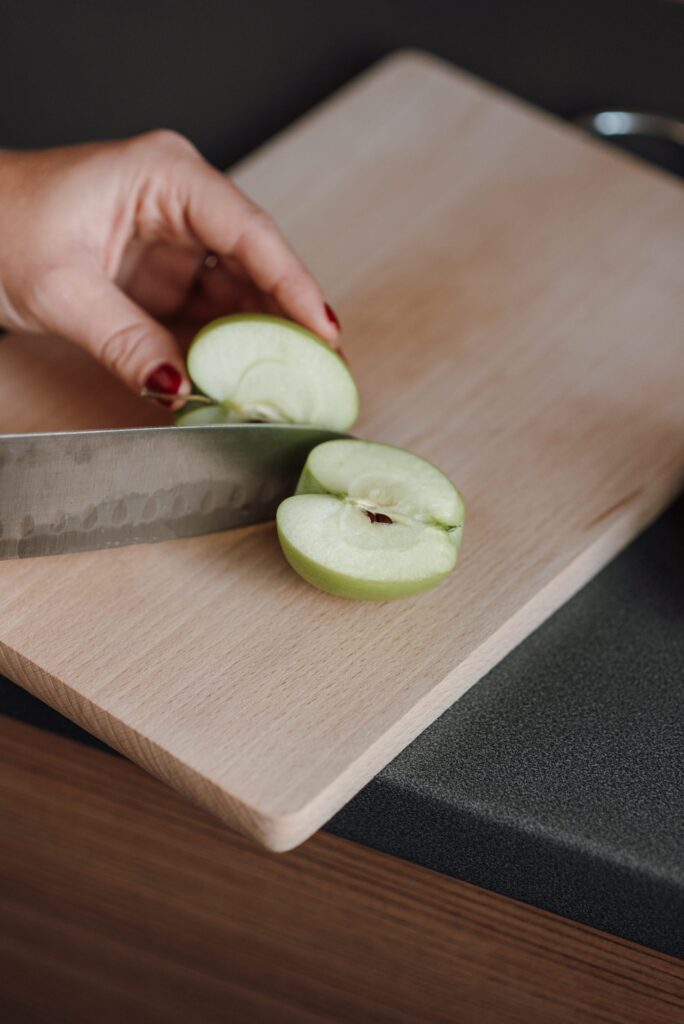
How to Freeze Apples
Here is a simple step-by-step guide on how to freeze apples! From whole apples, sliced apples and even apple pie filling:
How to Freeze Whole Apples
Freezing whole apples is a simple process. Here’s how to do it:
- Wash and Dry: Thoroughly wash the apples to remove any dirt or pesticides. Dry them completely to prevent ice crystal formation.
- Core the Apples (Optional): While you can freeze apples whole without coring, removing the core can make them easier to use after thawing.
- Pre-Treat to Prevent Browning (Optional): To prevent browning, you can briefly soak the whole apples in a mixture of lemon juice and water (1 tablespoon of lemon juice to 1 cup of water) for about 5 minutes.
- Flash Freeze: Place the whole apples on a baking sheet, making sure they’re not touching each other. Freeze them for a few hours until they are completely solid. This step prevents the apples from sticking together in the freezer.
- Transfer to Freezer Bags or Containers: Once the apples are frozen, transfer them to freezer bags or airtight containers. Remove as much air as possible to prevent freezer burn. Label the bags or containers with the date.
- Store in the Freezer: Place the bags or containers in the freezer. Whole frozen apples can be stored for several months.
When you’re ready to use the frozen apples, thaw them in the refrigerator. Note that the texture of the apples may change after freezing, making them softer and more suitable for cooked dishes rather than fresh eating.
How to Freeze Apple Slices
Freezing apple slices is a great way to preserve them for later use. Here’s a step-by-step guide:
- Wash and Slice the Apples: Start by washing the apples thoroughly. Then, core and slice them to your preferred size. Peeling is optional and depends on your intended use.
- Prevent Browning: To keep the slices from browning, soak them in a mixture of lemon juice and water (about 1 tablespoon of lemon juice to 1 cup of water) for a few minutes. This step is crucial for maintaining their color and freshness.
- Drain and Dry: After soaking, drain the apple slices and pat them dry with paper towels. This helps to prevent ice crystals from forming during freezing.
- Flash Freeze: Arrange the apple slices in a single layer on a baking sheet lined with parchment paper. Make sure the slices are not touching each other. Place the baking sheet in the freezer and freeze the slices until they are solid, usually a few hours. Flash freezing prevents the slices from sticking together in the freezer.
- Transfer to Freezer Bags or Containers: Once the apple slices are frozen, transfer them to freezer bags or airtight containers. Remove as much air as possible to minimize freezer burn. Label the bags or containers with the date.
- Store in the Freezer: Place them back in the freezer. Frozen apple slices can be stored for several months.
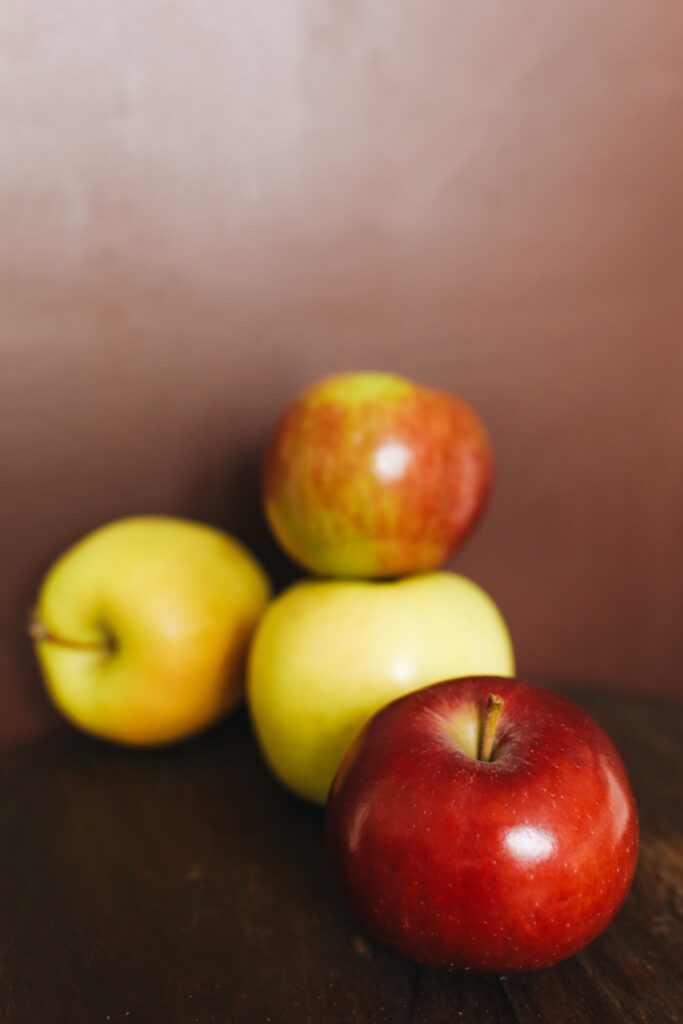
Frozen apple slices are perfect for use in cooking and baking recipes like pies, apple crumble, or sauces. They can also be added directly to smoothies or thawed for use in various dishes.
Freeze Apple Pie Filling
Freezing apple pie filling is a convenient way to prepare for quick and easy pie-making in the future. Here’s how you can do it:
- Prepare the Apple Pie Filling: Start by making your apple pie filling according to your favorite recipe. This typically involves slicing apples and mixing them with sugar, spices (like cinnamon and nutmeg), and a thickener like cornstarch or flour.
- Cool the Filling: Allow the cooked filling to cool completely to room temperature. This step is crucial to prevent condensation and ice crystal formation when freezing.
- Pre-Treat with Lemon Juice (Optional): If your recipe doesn’t include lemon juice, you might consider adding some to help prevent browning.
- Portion the Filling: If you have a specific pie size in mind, portion the filling according to the size of the pies you plan to make. This makes it easier to use the right amount later without needing to thaw more than necessary.
- Transfer to Freezer-Safe Containers or Bags: Spoon the cooled filling into freezer bags or airtight containers. If using freezer bags, remove as much air as possible before sealing to prevent freezer burn. Label the containers or bags with the date and the contents.
- Freeze on a Flat Surface: If using freezer bags, lay them flat in the freezer initially until the filling is frozen. This helps in saving space and makes the filling easier to stack or store.
- Use Within Six Months: While frozen apple pie filling can last longer, it’s best used within six months for optimal flavor and texture.
When you’re ready to use the filling, thaw it in the refrigerator overnight. Then, simply pour the filling into your pie crust and bake according to your recipe. This method makes it easy to enjoy homemade apple pie with much of the prep work already done.
Tips for Freezing Apples
- Freeze Apples in Useable Portions: Consider your typical recipe needs and freeze apples in portions that align with those. This makes it easier to use the right amount without thawing more than you need.
- Label Your Freezer Bags: It’s essential to label your freezer bags with the freezing date and apple variety for better organization and to use them efficiently.
- Choose High-Quality Freezer Bags: To preserve the quality of your frozen apples and prevent freezer burn, use high-quality freezer bags.
- Consider Freezing Apple Pie Filling: For an even quicker apple pie recipe, freeze the filling. Just mix your sliced apples with the usual pie spices and freeze them in a pie-ready portion.
How Long Do Frozen Apples Last
Frozen apples typically last for about 6 to 8 months in the freezer while retaining their best quality. They remain safe to eat beyond that time, but their texture and taste may gradually deteriorate. For optimal flavor, it’s recommended to use them within this timeframe.
How to Use Frozen Apples
Here are a few of my favourite ways to use my frozen apples:
Apple Pie and Pie Filling
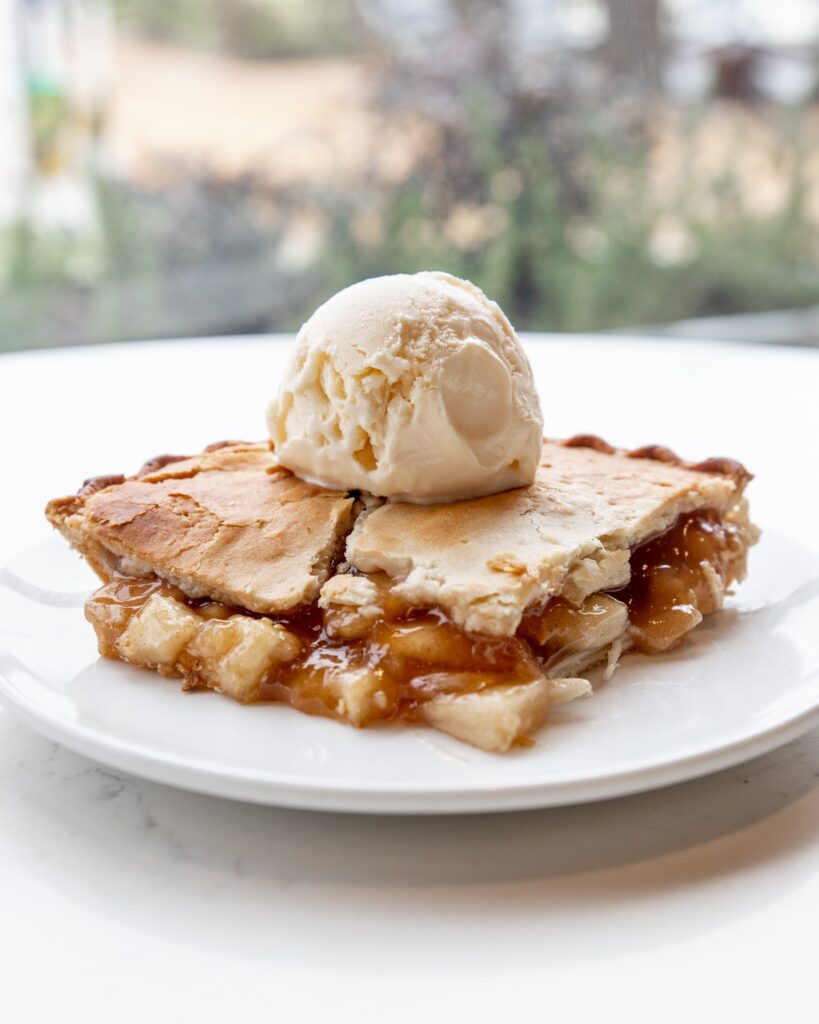
Frozen apples are perfect for making apple pie, just like this Spiced Rum Apple Pie Filling. You can even prepare and freeze the pie filling in advance. Simply thaw it when you’re ready to bake, or use the frozen slices directly in your recipe for a delicious apple pie.
Baking Recipes
Frozen apples work well in a variety of baking recipes. Use them in cakes, Apple Muffins, or bread for a delightful apple flavour. They are even perfect for these Soft Apple and Salted Caramel Cookies.
soups, Slow Cooker and Air Fryer Recipes
Frozen apples are great in slow cooker recipes like apple butter or in air fryer dishes for a quick, healthy dessert. I also like to use them in this Carrot, Apple and Ginger Soup. They are even fantastic in these Potato, Apple and Onion Pancakes.
Meal Plans and Quick Snacks
Incorporate frozen apple slices into your meal plans. They can be a convenient, healthy addition to this apple smoothie, apple cinnamon oatmeal, or as a natural sweetener in various dishes.
Other Helpful Freezer Guides
- How to Freeze Jello
- How to Freeze Butter
- How to Freeze Mascarpone
- How to Freeze Gravy
- How to Freeze Pulled Pork
- How to Freeze Pork Pies
- How to Freeze Bean Sprouts
- How to Freeze Kiwi
- How to Freeze Bell Peppers
- How to Freeze Chorizo
- How to Freeze Yogurt
- How to Freeze Ricotta Cheese
- How to Freeze Salami
- How to Freeze Ricotta
Conclusion
Freezing apples is an excellent way to preserve this delicious fruit for later use. Whether you’re looking to prep for baking, include them in meal plans, or just have a ready-to-go fruit option, frozen apples maintain much of the freshness and flavor of fresh apples. With the right prep and storage, you can enjoy the taste of apples in your favourite recipes year-round. Remember to follow these steps and tips to ensure your frozen apples are as delightful as when they were fresh!

Christopher is a food and lifestyle expert, recipe developer and the content creator behind May Eighty Five. With years of experience in the kitchen, he also shares tips, tricks and how to’s that he has learnt over the years. Every week, he shares quick, simple and mostly healthy recipes along with some home and entertaining tips. You will find flavorful cocktails, delicious appetizers, tasty mains and some indulgent desserts. As a home decor enthusiast, he also likes to share simple DIY projects and simple tips for a beautiful home.




2 Comments